Go to Settings to customize Printer Setting globally.
You will see a block named, “Printer Settings” at top right with five individual settings like Margins (top and left), Print Directions, Center Feeding and a Default Printer settings. You need to keep one setting as a Default and that will be appiled at each cheque that you are going to print.
Click on Edit button to update particular Print Setting. This will open up a Popup where you can see/update settings. We are going to explain these all settings here.
Print Directions
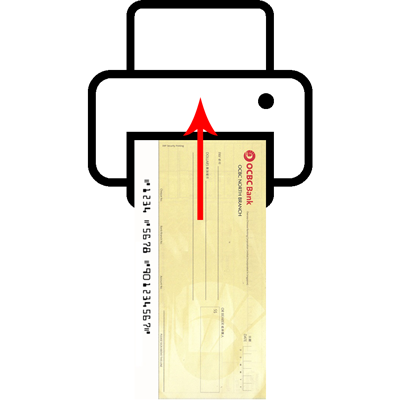
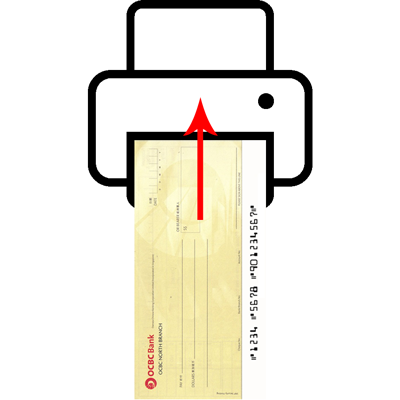
There are two Print Directions: LTR (Left To Right) and RTL (Right To Left). This indicates the direction of your cheque that are inputting in printer
LTR (Left To Right)
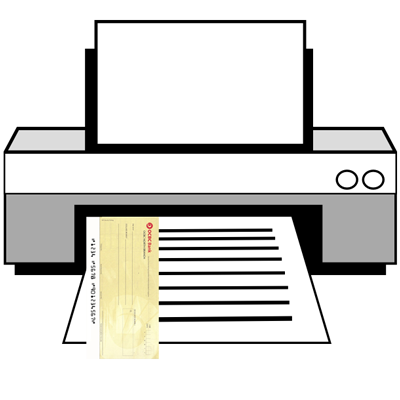
See below image. If you are going to input your cheque like this, select LTR option. This option is recommanded by us.
Margins (top and left)
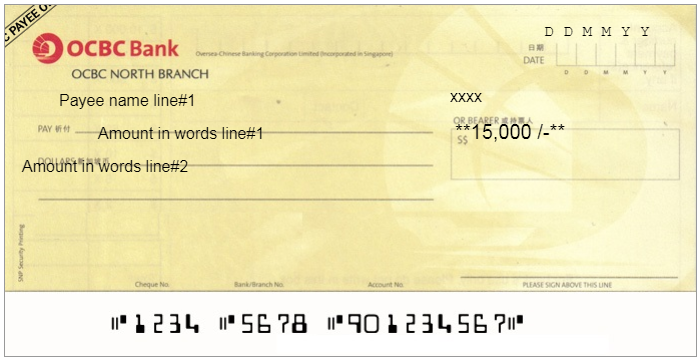
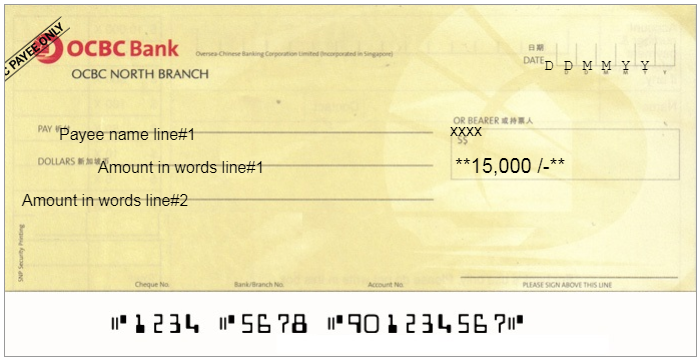
Sometimes the printed cheque doesn’t match the layout exactly. Printed cheque particulars like Payee, Date, Amount etc… are printed slightly out of the box like images below:
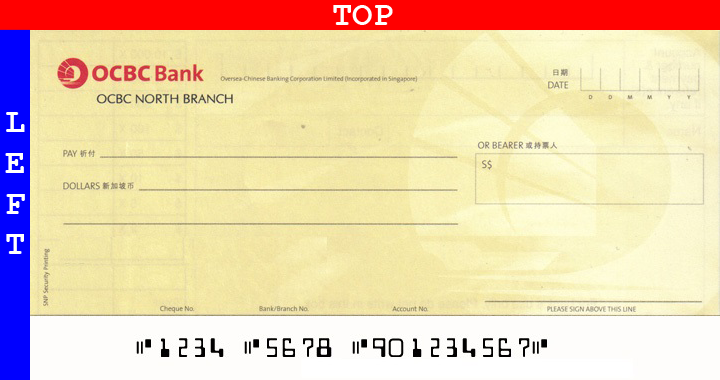
To overcome such issues, you can set Margins from Top and Left, +ve or -ve. They are measured in MM (milimeter). Top margin will be ALWAYS applied from top (shown as RED line) and Left margin will be ALWAYS applied from left (shown as BLUE line) no matter what the Print Direction is. Check image below:
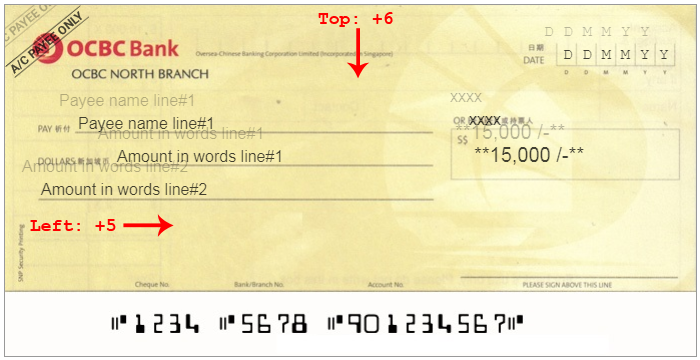
To fix issue for image “Print Error#1”, we need to move all particulars to down (6mm) and to right (5mm). For this, you can set Top margin to +6mm, this will move all particulars to down and Left margin to +5mm, this will move all particulars to right. Check image below, showing how “Print Error#1” is solved by setting margins:
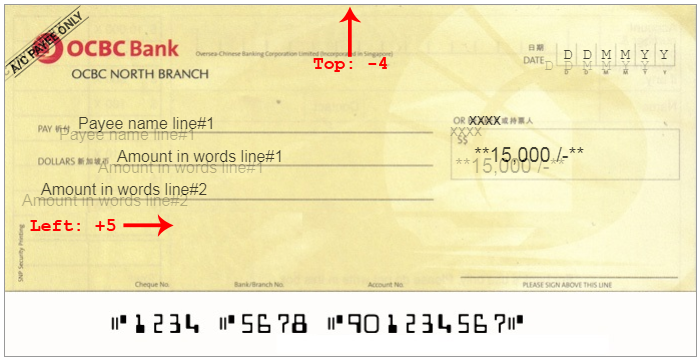
To fix issue for image “Print Error#2”, we need to move all particulars to up (4mm) and to right (5mm). For this, you can set Top margin to -4mm, this will move all particulars to up and Left margin to +5mm this will move all particulars to right. Check image below, showing how “Print Error#2” is solved by setting margins:
Refer Top and Left Margins article for more.
Center Feeding
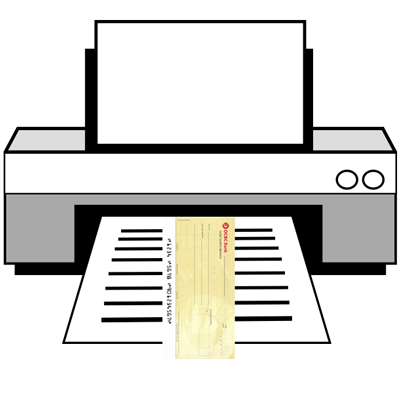
Check image below, if you are going to input your cheque in printer’s center tray, then keep this setting checked.
Set as Default Printer
You can keep any Print Setting as Default (out of five). At the time of printing cheque, you will see a “Print Settings” dropdown with all these five print settings with Default selected. So everytime Default Print Setting will be applied and you can change this setting from this dropdown also.

